Integrations

SalesQL with Google Sheets

Send new SalesQL contacts to a Google Sheet automatically with a Zapier Zap, from setting up the trigger to mapping columns and publishing it.

In short

  • You need a Zapier account, a paid SalesQL subscription, and a Google spreadsheet with column headers.
  • Use SalesQL as the trigger app with the New contact event, then add the Google Sheets action Create Spreadsheet row.
  • After publishing the Zap, click Send current contacts now in your dashboard to send contacts you added earlier.

Would you like to effortlessly sync your contacts with a Google Sheet, either before or after you add them to your dashboard? In this tutorial, we'll demonstrate how to achieve this using Zapier.

Zapier is a versatile tool that allows you to complete code-less integrations between your favorite applications. The software achieves this using ´'Zaps', which essentially describe the action you want to take place (in this case, sending your contacts from SalesQL to your Google Sheet).

Each Zap consists of a Trigger, an event that launches the Zap, along with one or more action components. This setup creates a highly efficient and dynamic automation process.

Initial Setup and Prerequisites

To create the Zap, you'll require:

Output Spreadsheet

In the Google Sheet where you intend to send your contacts, it's essential you create a column header that enables you to map the required data.

Google Sheets header row with columns such as Created_on, Full name, Current position, LinkedIn URL and Email 1

In this case, the relevant headers are Created_on, Updated_from_LinkedIn, Full name, Current position, Education experience, Skills, LinkedIn URL, Email 1.

To begin creating a new Zap, click on 'Create Zap!' within your Zapier account page.

Zapier sidebar with the "Create Zap" button highlighted

To set up the trigger:

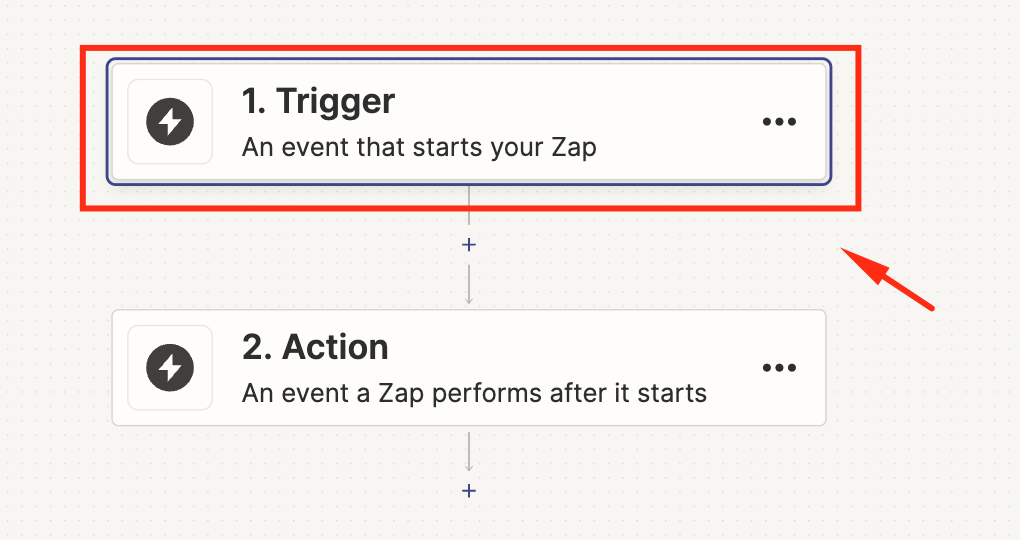
  1. First, choose the trigger app.

    Zapier editor with the "1. Trigger" step highlighted above the "2. Action" step
  2. Of course, we´'re going to select SalesQL.
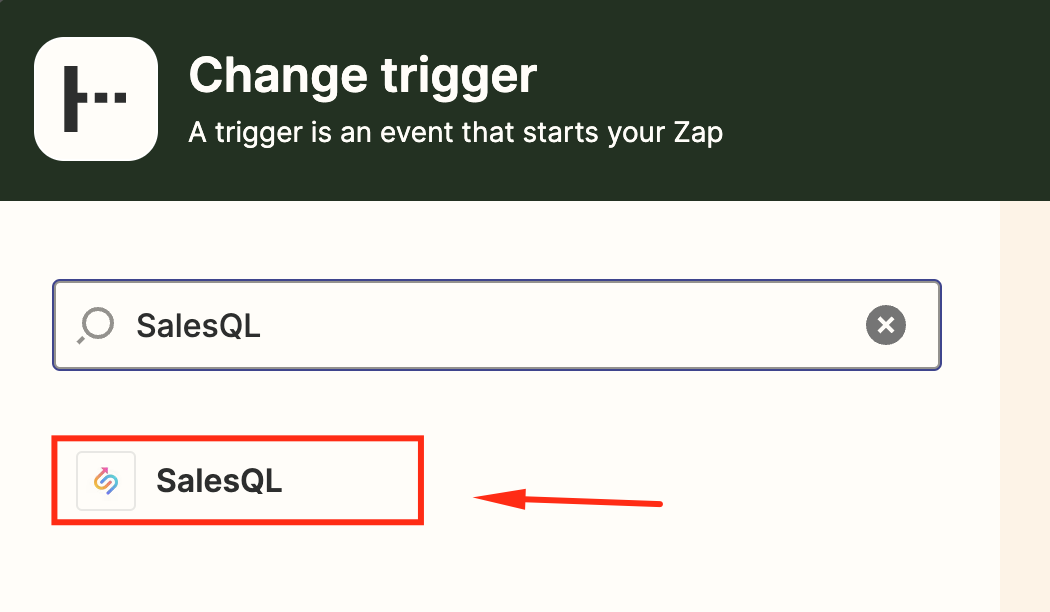
    Zapier "Change trigger" search for "SalesQL" with the SalesQL app highlighted
  3. In the event tab, we will select 'New contact.'
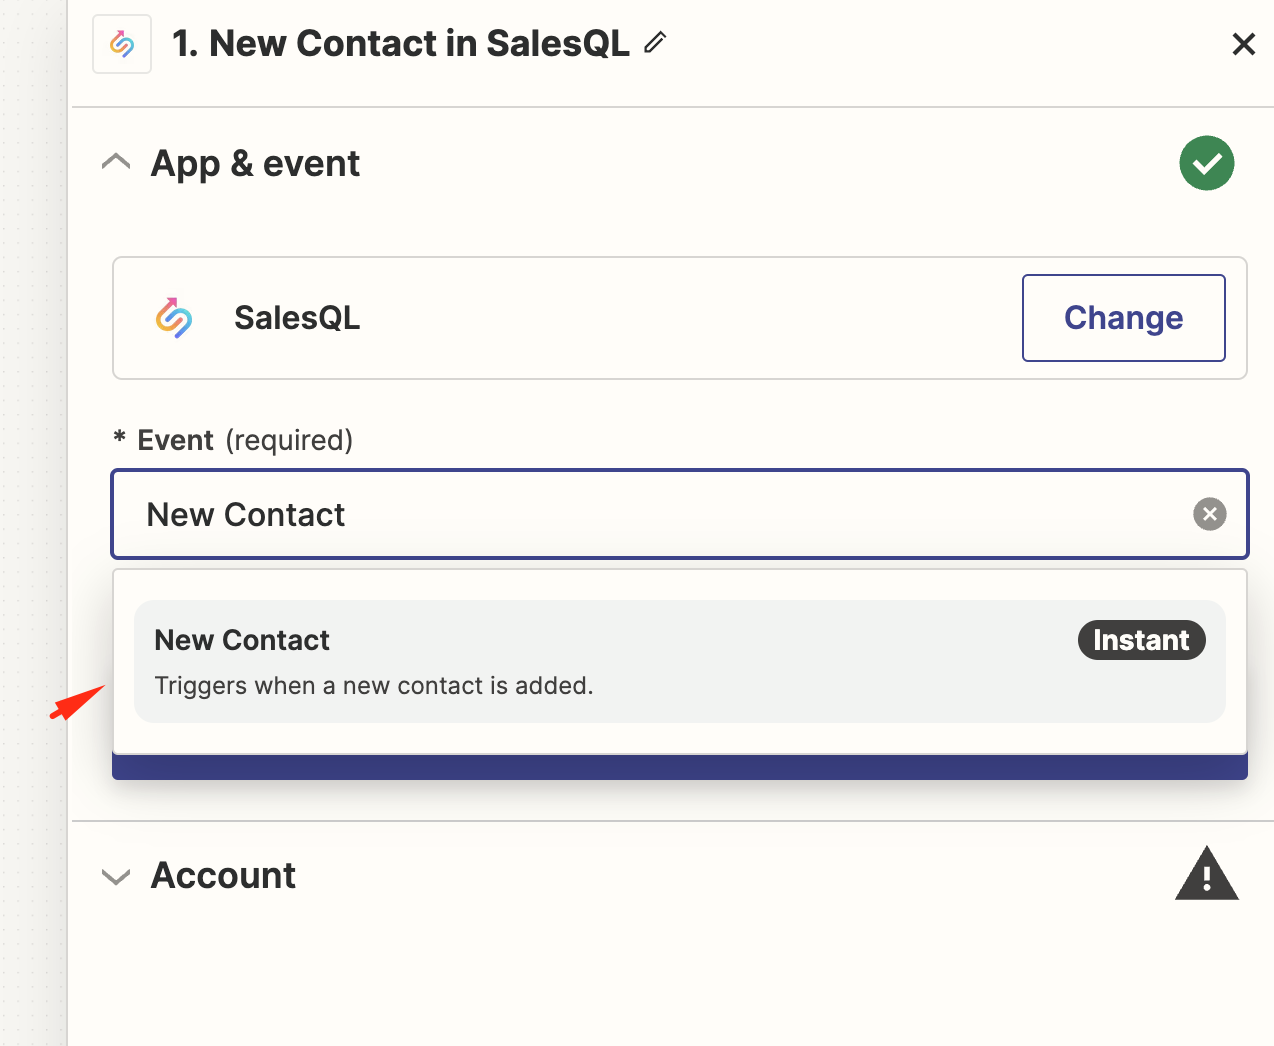
    Zapier "New Contact in SalesQL" trigger with the "New Contact" event selected in the Event field
  4. After clicking continue, we will choose an account, so make sure you already have one created. If you don´'t know how to create one, just follow this Zapier tutorial.
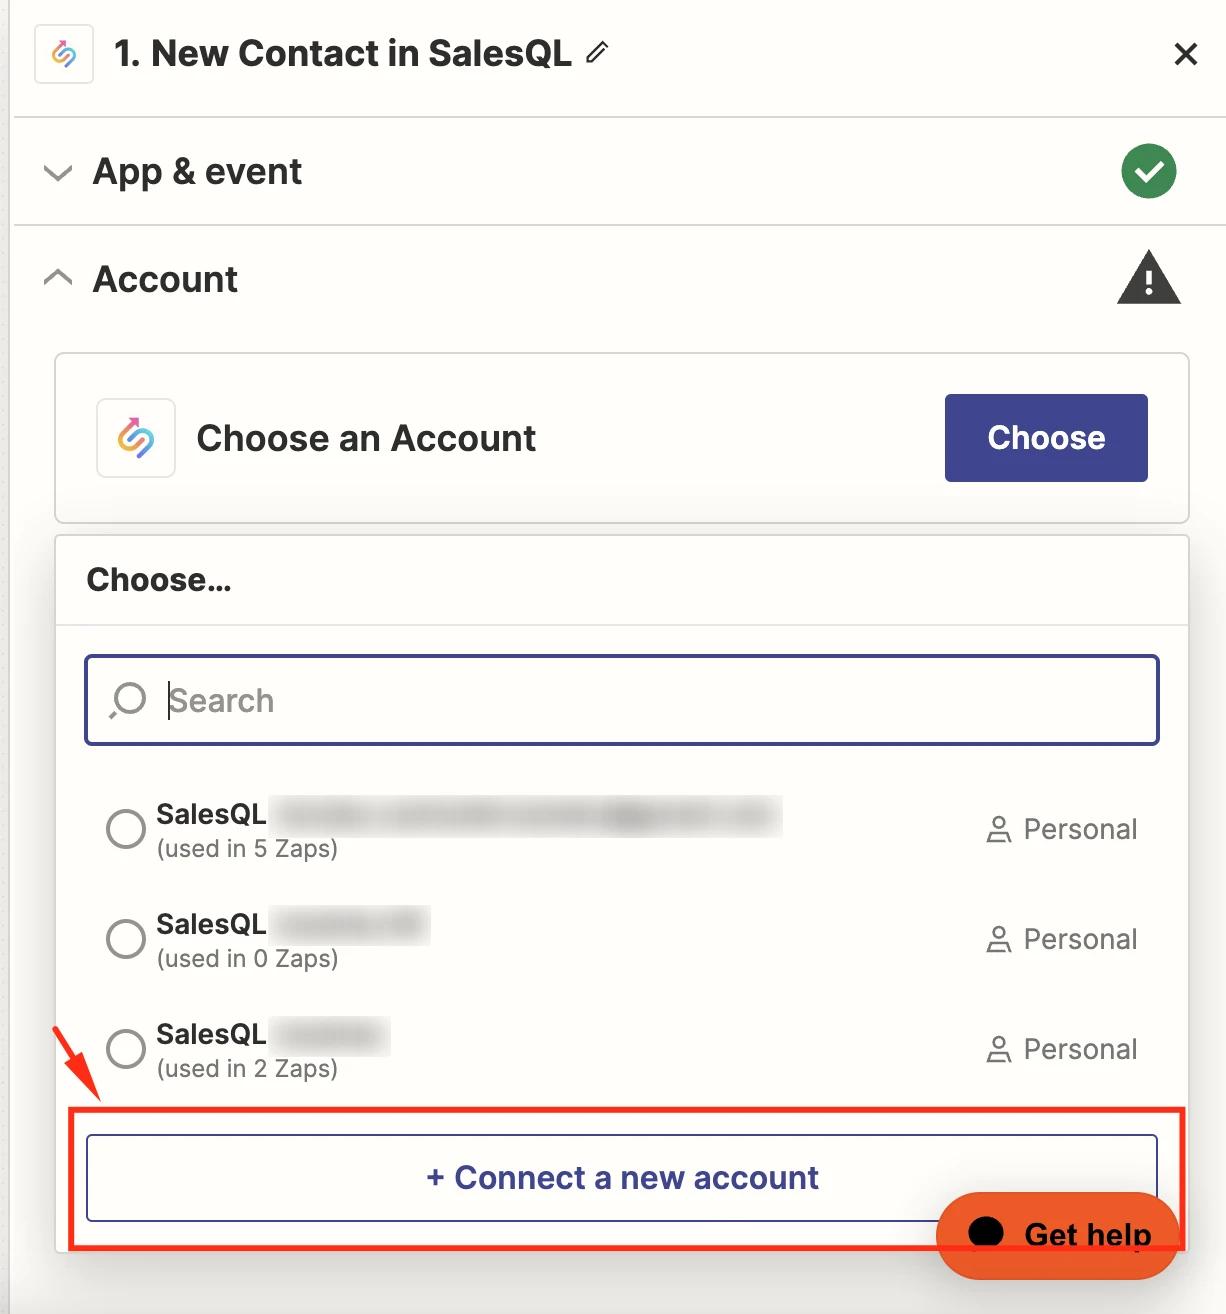
    Zapier Account step listing connected SalesQL accounts with the "+ Connect a new account" button highlighted
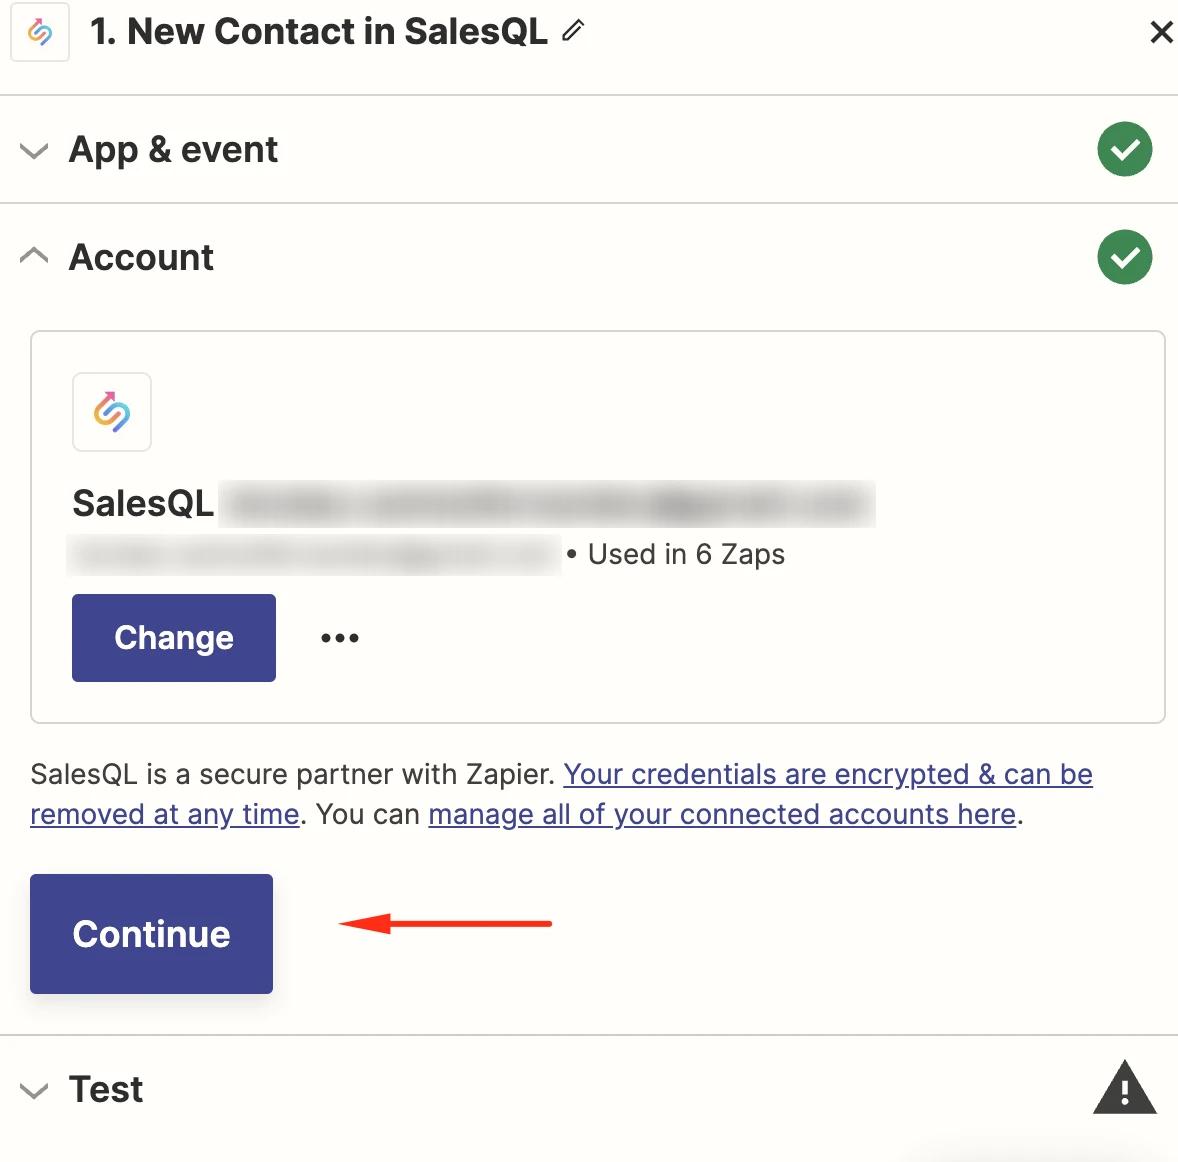
  5. Now we click on 'Continue'...

    Zapier Account step with a connected SalesQL account and an arrow pointing to the "Continue" button
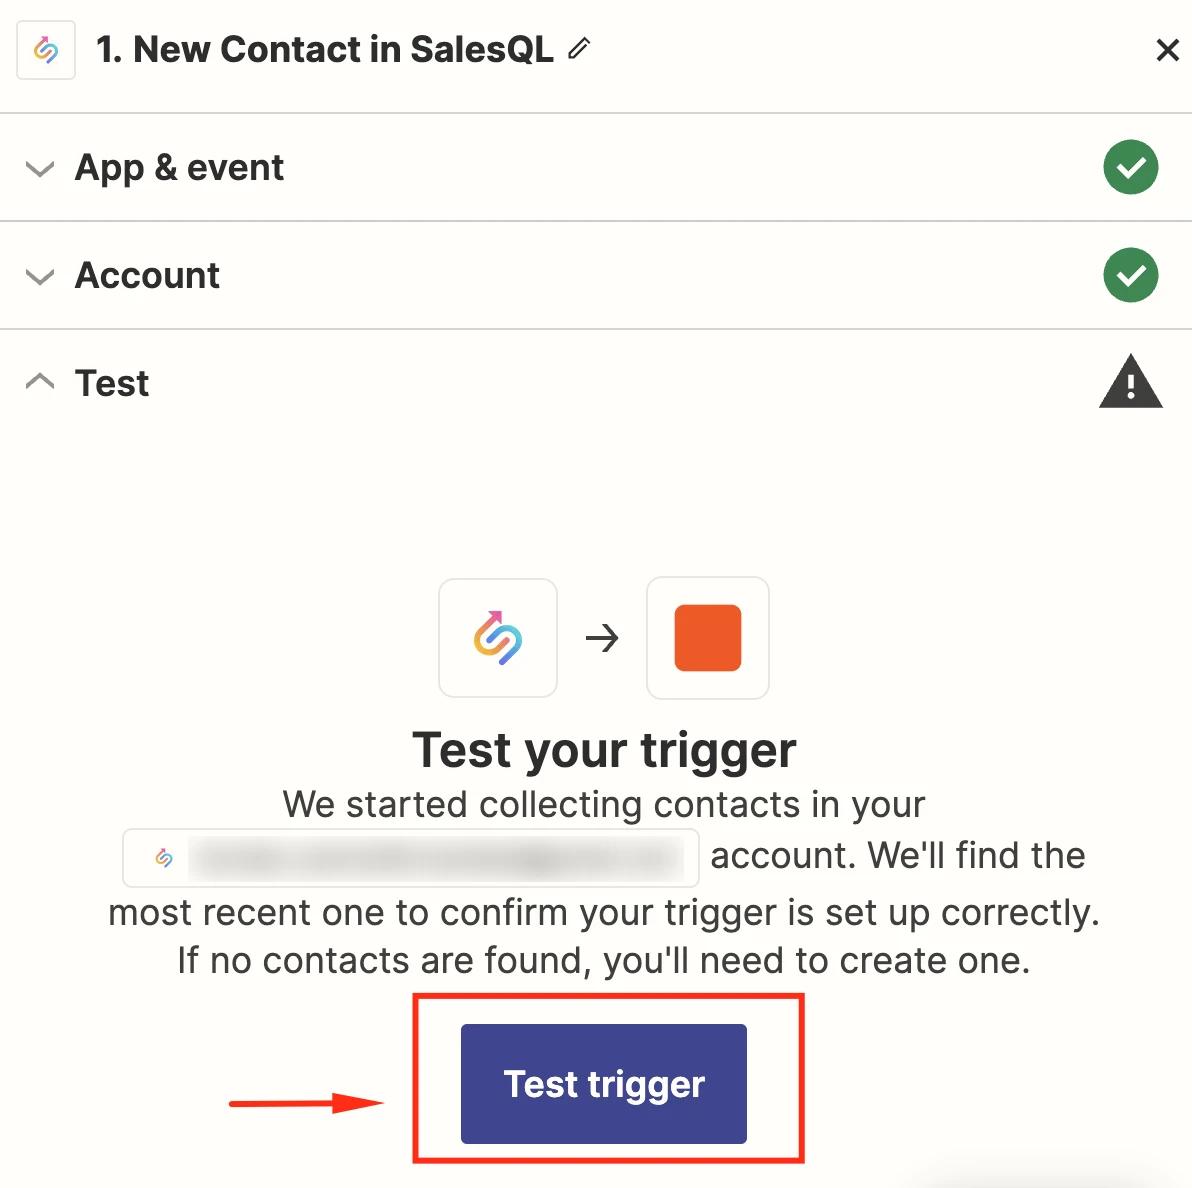
  6. ...and 'Test trigger'.

    Zapier "Test your trigger" step for "New Contact in SalesQL" with the "Test trigger" button highlighted
  7. Now we need to click 'Continue with selected record'.
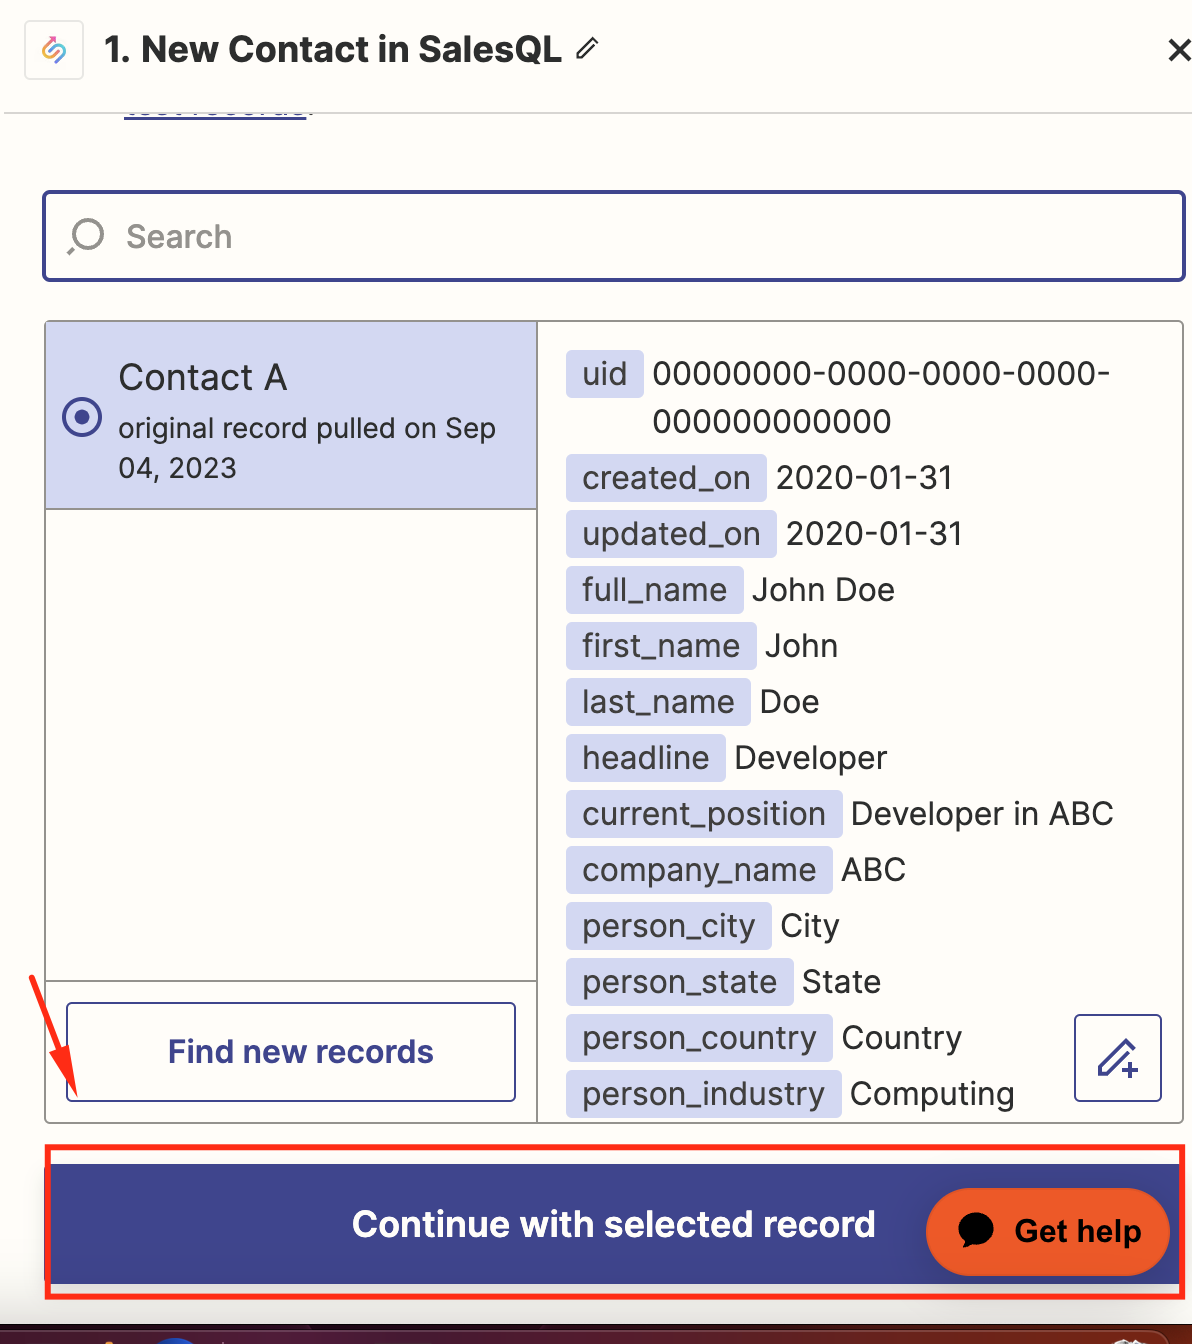
    Zapier sample record "Contact A" with placeholder contact fields and the "Continue with selected record" button
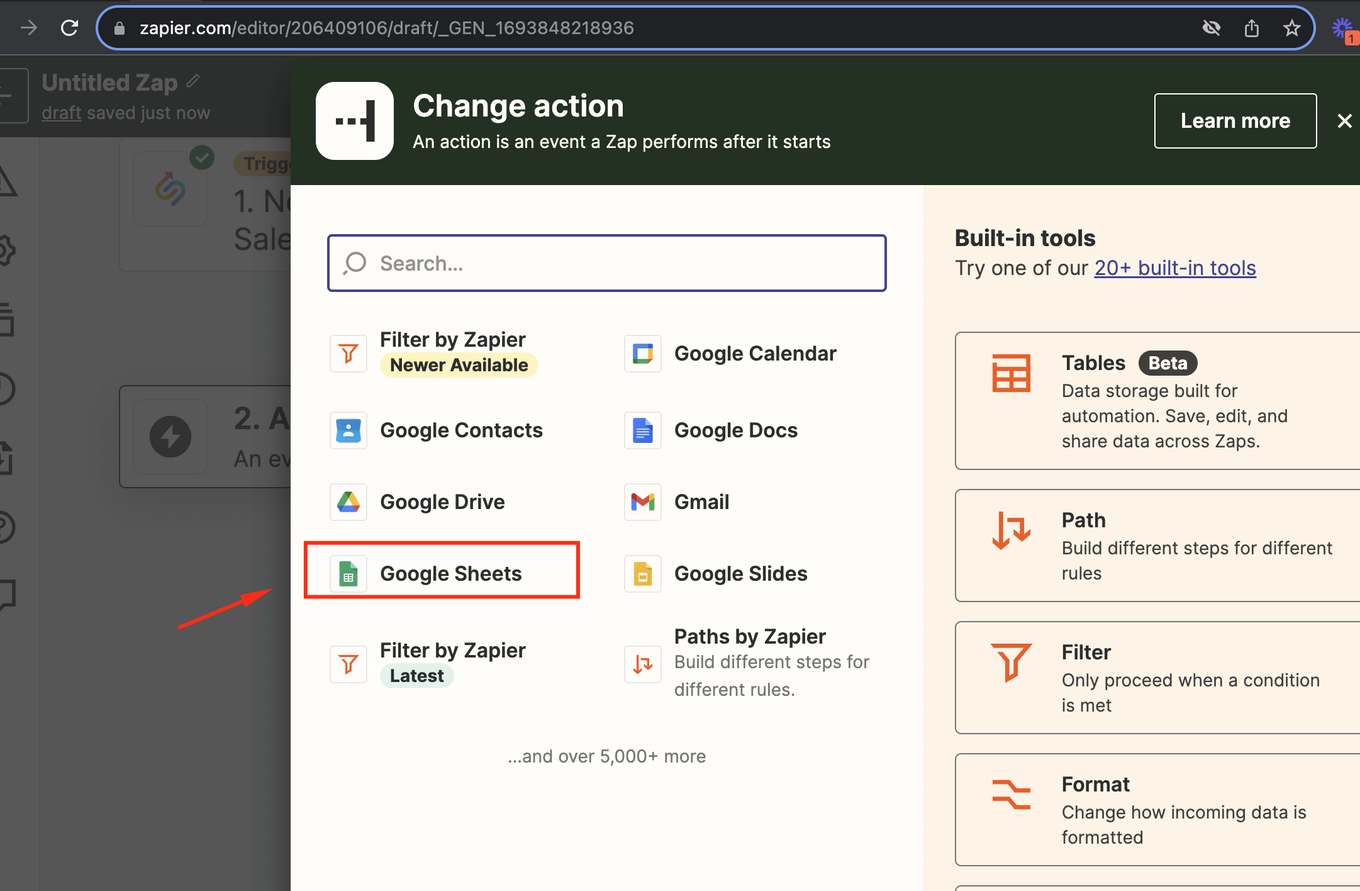
  8. And select 'Google sheets.'

    Zapier "Change action" app list with "Google Sheets" highlighted
  9. Once we've specified Google Sheets, the next step is to 'Create Spreadsheet row.'
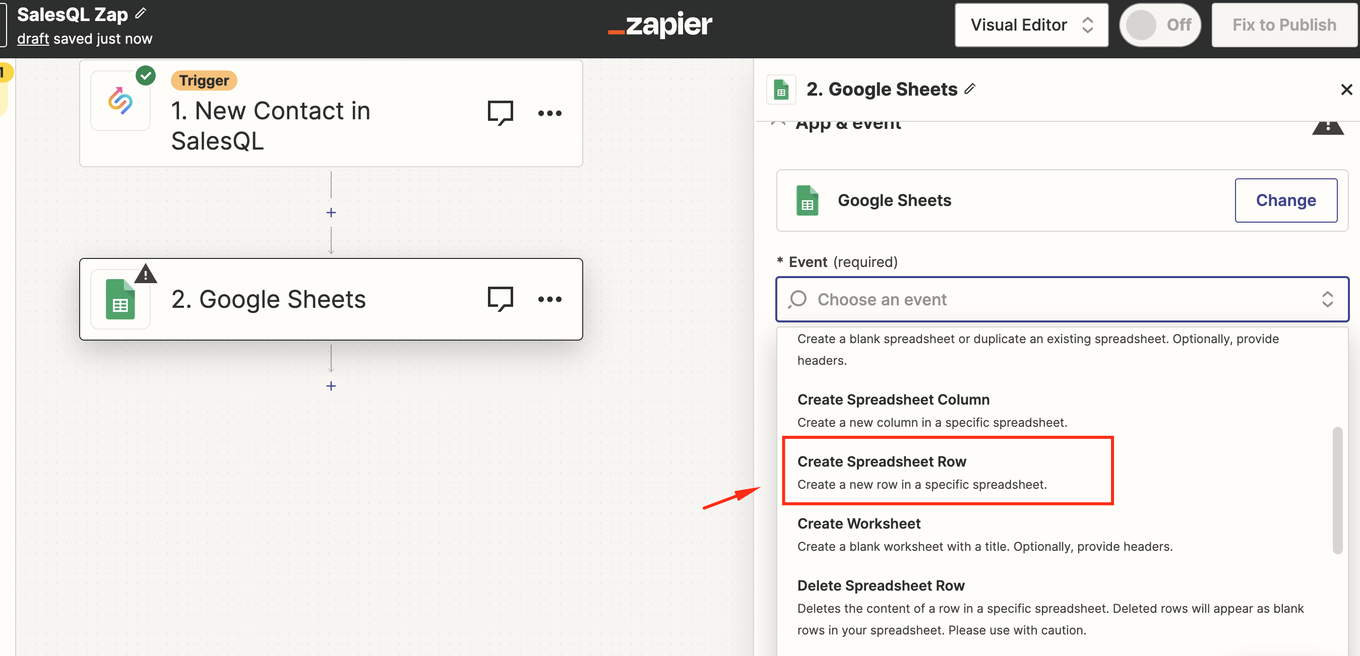
    Zapier Google Sheets action with the "Create Spreadsheet Row" event highlighted in the Event list
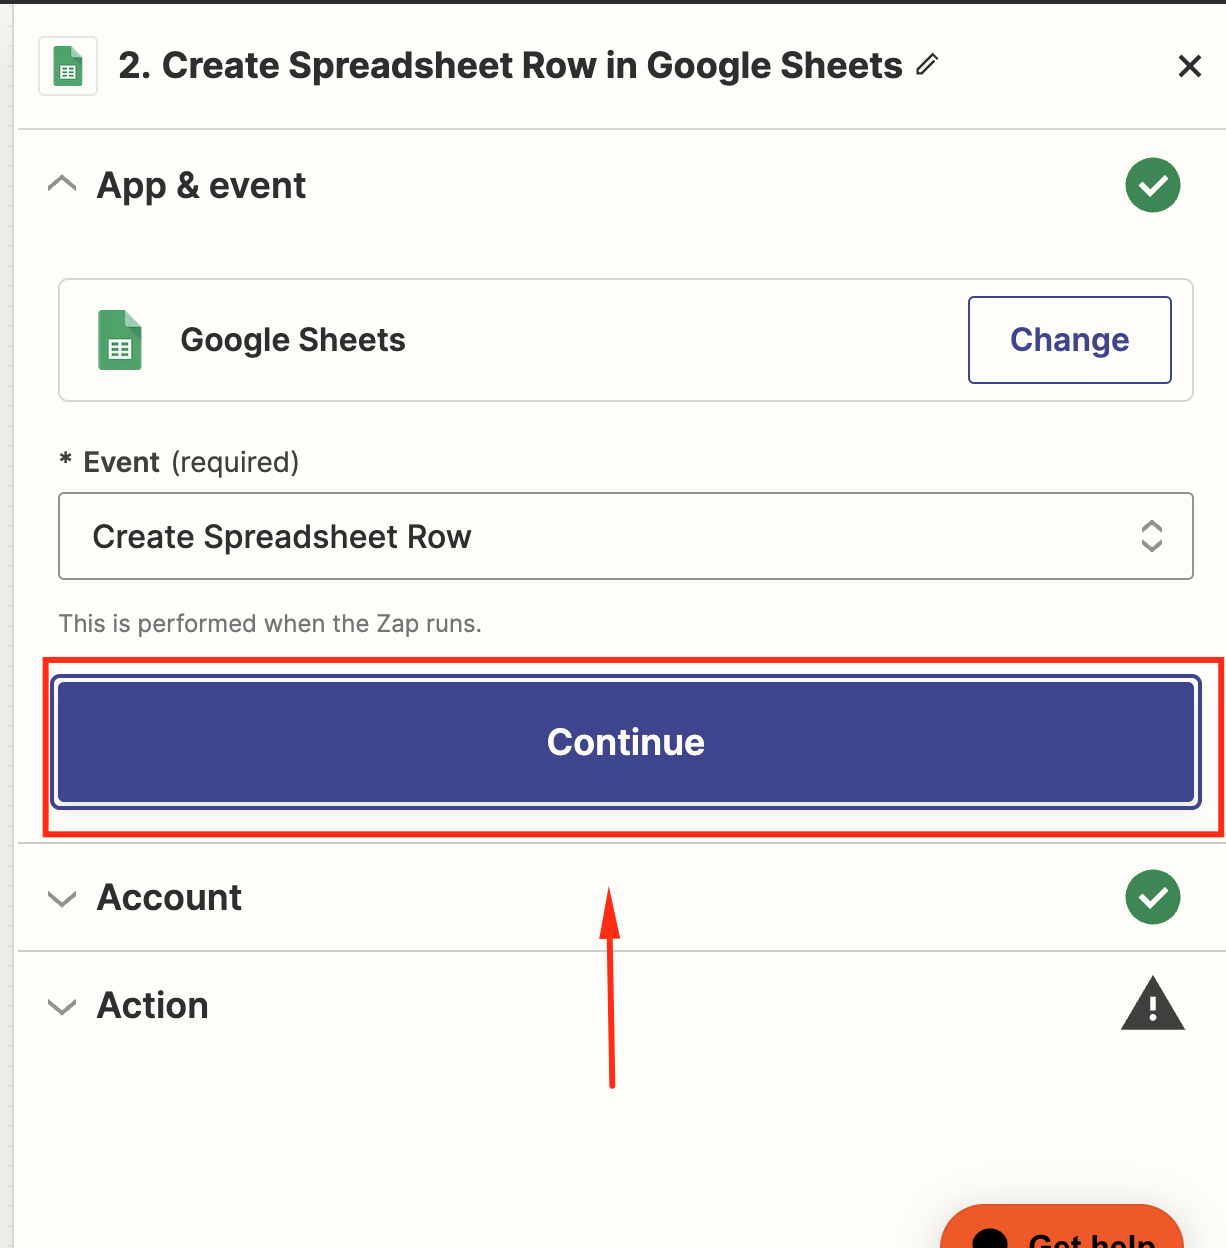
  10. and 'Continue.'

    Zapier "Create Spreadsheet Row in Google Sheets" step with the event set and the "Continue" button highlighted
  11. We confirm our Google sheets account by clicking 'Continue.'
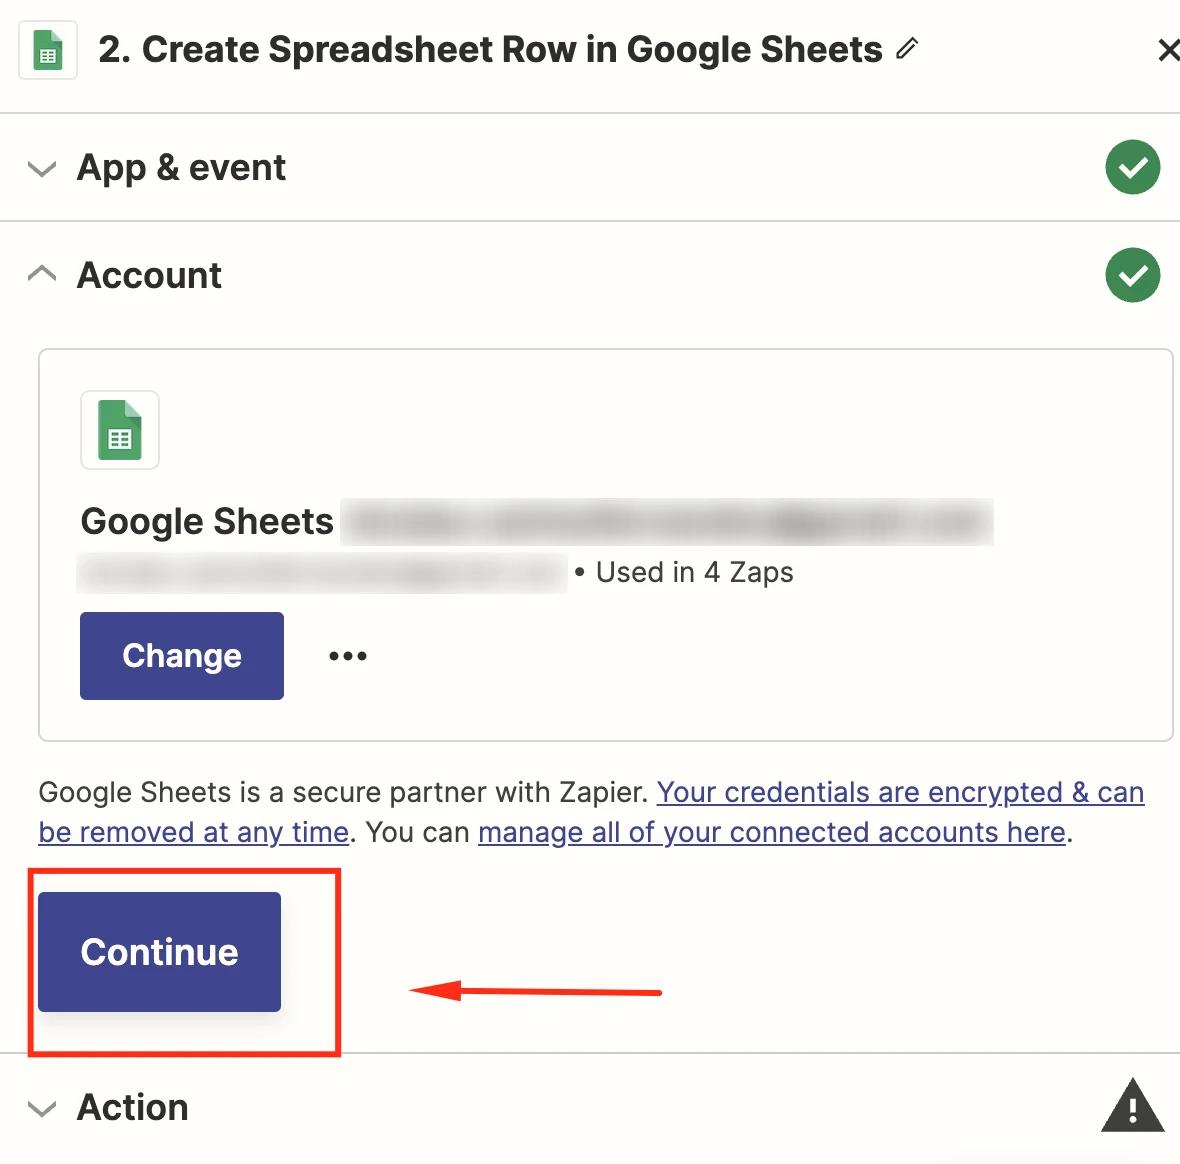
    Zapier Account step with a connected Google Sheets account and the "Continue" button highlighted
  12. At this point we have to specify where Zapier will look for the spreadsheet, confirm the sheet we created previously with the header, and select the worksheet.
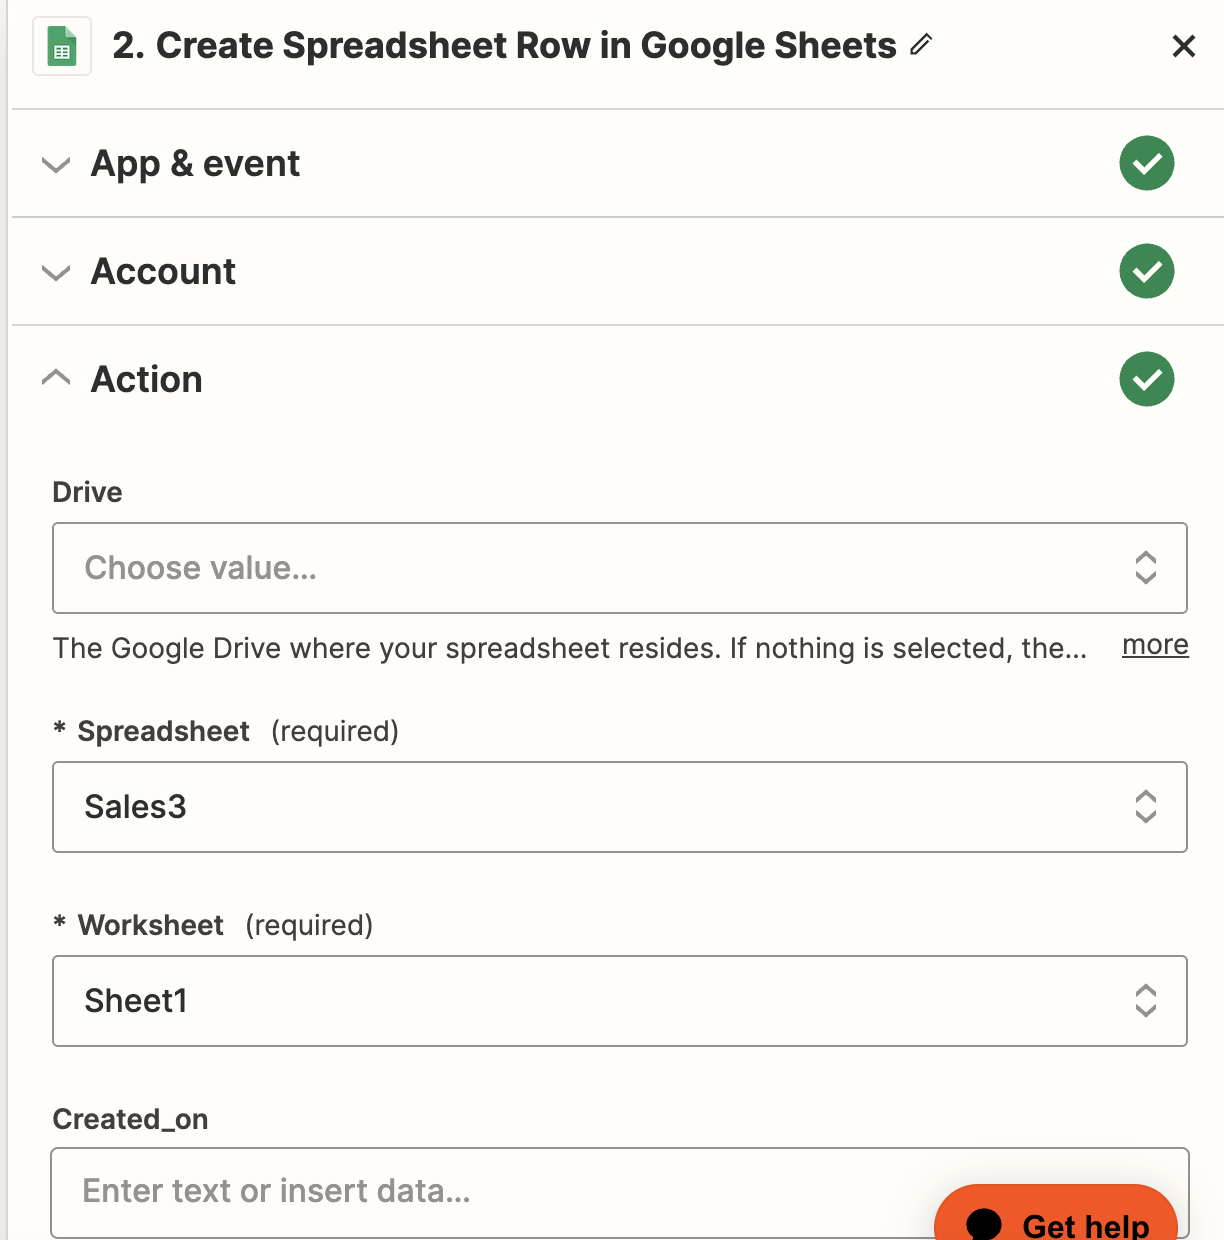
    Zapier Google Sheets Action step with Drive, Spreadsheet "Sales3" and Worksheet "Sheet1" fields
  13. Once Zapier has found the spreadsheet, it's time to map the headers with the contact's information. When we have mapped all the information as we want it, we will click 'Continue.'
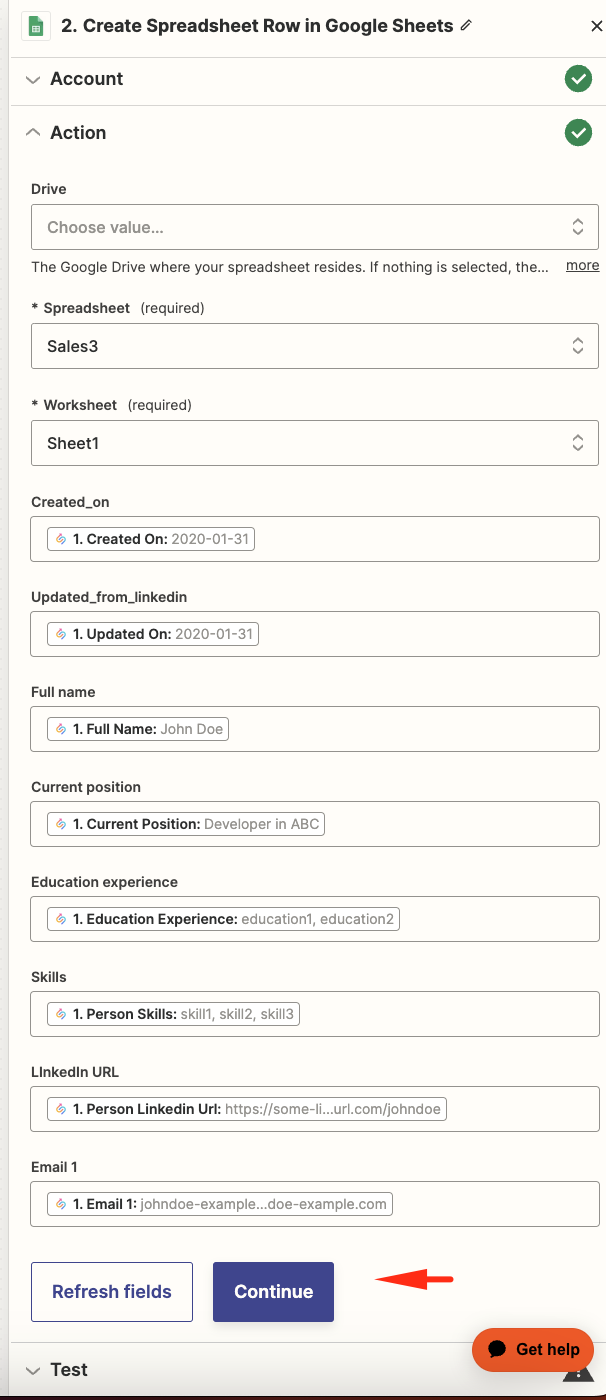
    Zapier Google Sheets action mapping sheet columns to SalesQL contact fields, with the "Continue" button
  14. Zapier will now perform a test on the spreadsheet we have selected. So let's run the test!
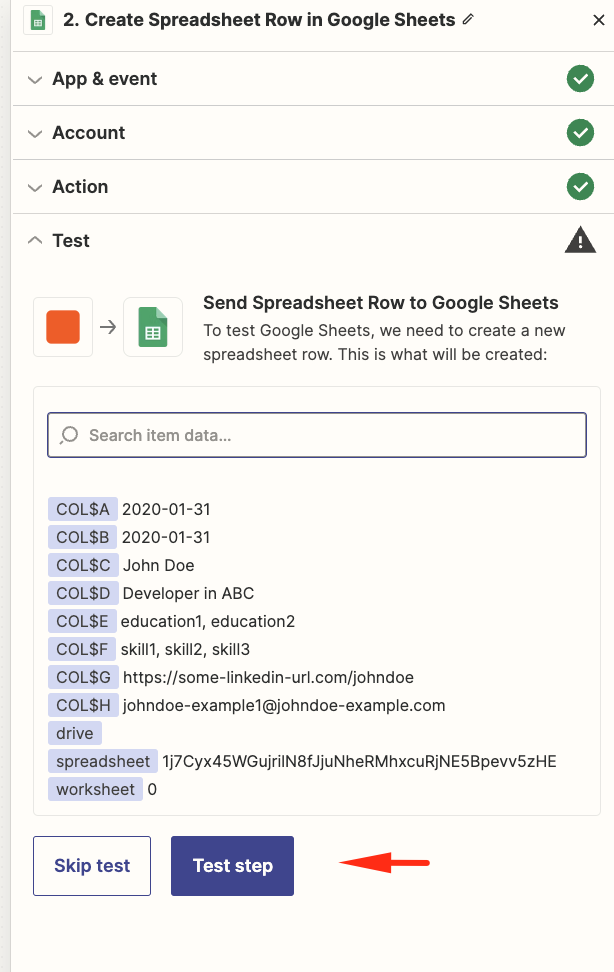
    Zapier Google Sheets test preview of the row to be created, with the "Test step" button
  15. Nearly there now. It's time to review the sheet, and check that all the information has been sent correctly.

    Google Sheets row filled with a sample SalesQL contact under the mapped column headers
  16. After reviewing the sheet, we go back to Zapier and publish the Zap.
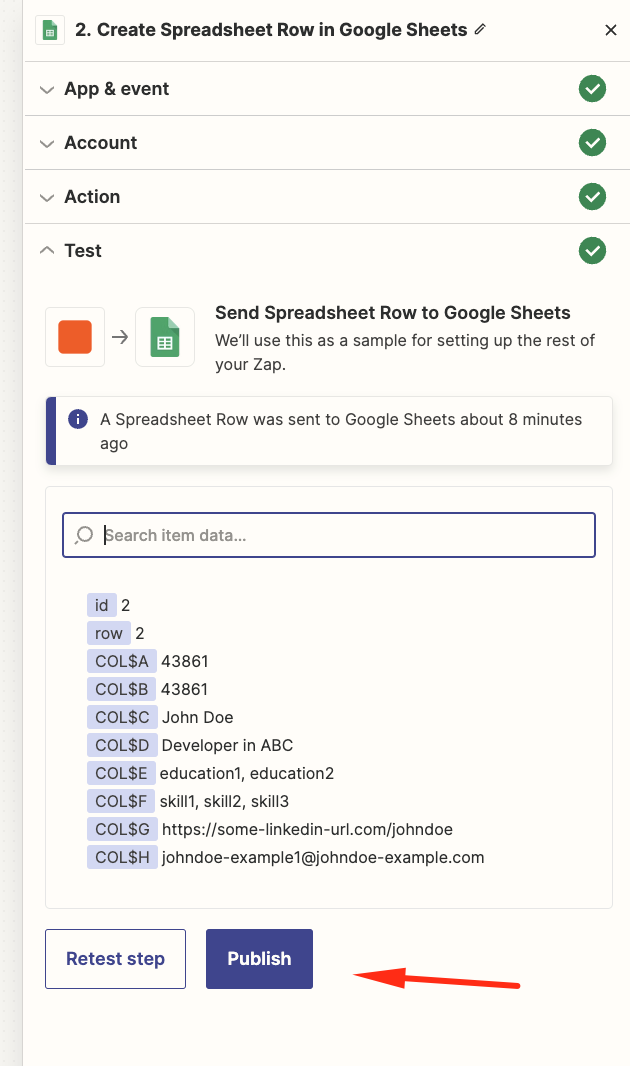
    Zapier Google Sheets step after a successful test, with an arrow pointing to the "Publish" button
  17. You should see that the Zap is running, and get a confirmation message from Zapier too.
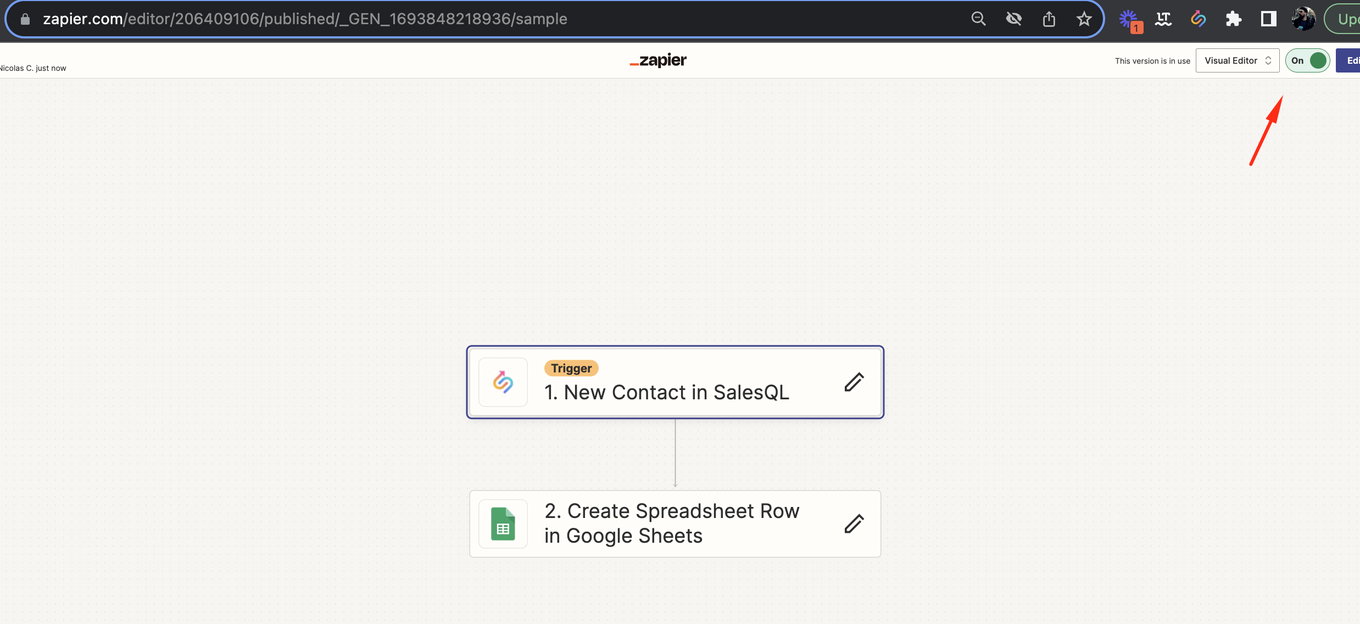
    Published Zap "New Contact in SalesQL" to "Create Spreadsheet Row in Google Sheets" with the toggle set to "On"
  18. All set! All these new contacts will be sent directly to the sheet. Now, if you want to send contacts that you have previously added, go to your dashboard and click on 'Send current contacts now.'
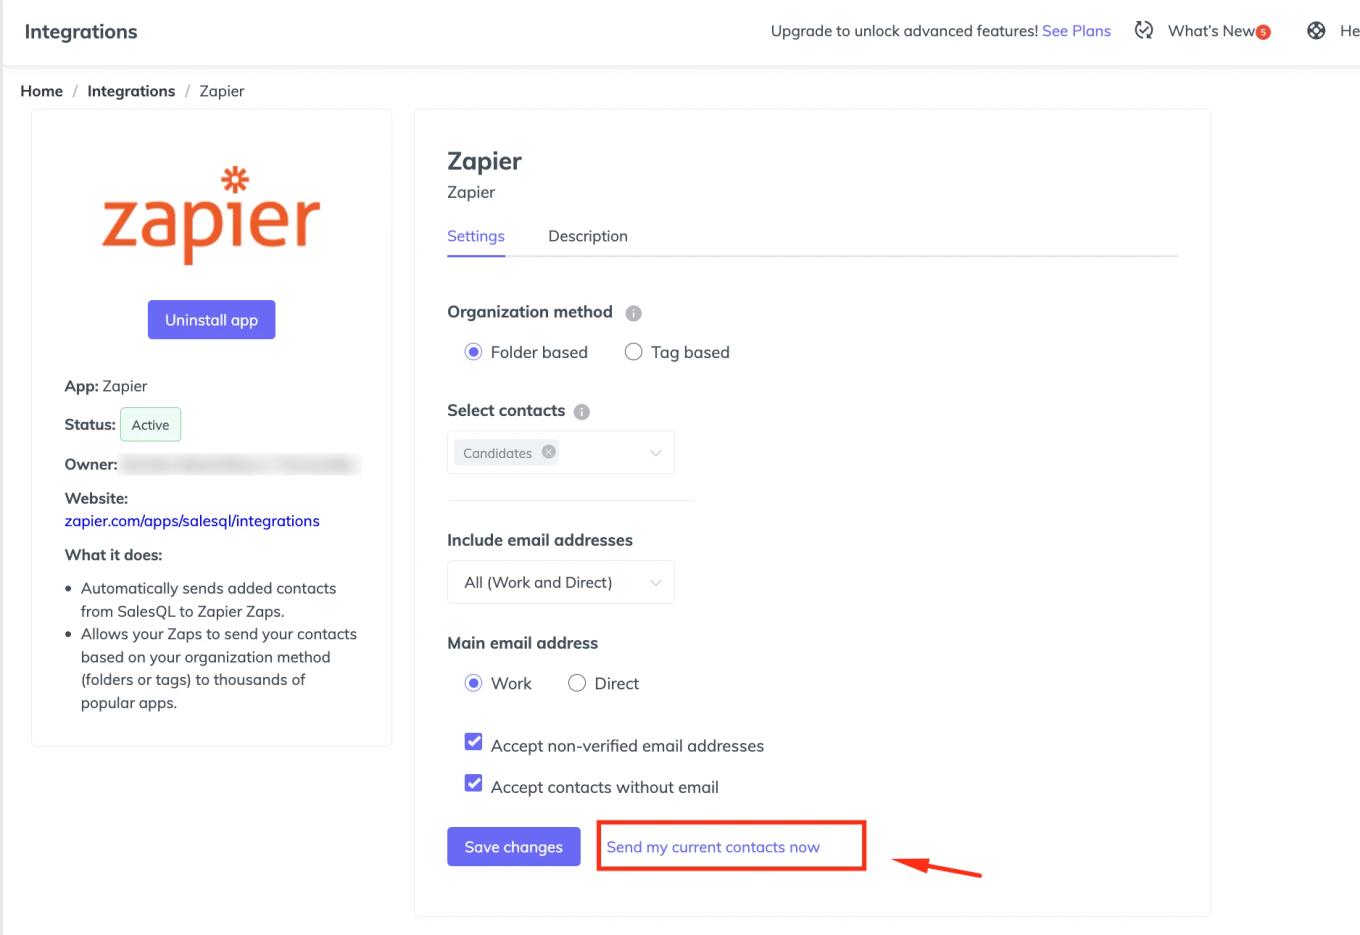
    SalesQL Zapier integration with status "Active" and the "Send my current contacts now" link highlighted

More in Integrations

  • HubSpot Integration

    Connect SalesQL to HubSpot, export your projects as HubSpot lists, and import extra contact fields from a SalesQL download with HubSpot's import tool.

  • Mailchimp Integration

    Connect SalesQL to Mailchimp, send your existing contacts to an audience, and filter them in Mailchimp by the tags created from your SalesQL folders.

  • Zoho CRM Integration

    Sync SalesQL with Zoho CRM to export your folders' contacts as Leads, and fix the sync error by creating a Zoho CRM account first.

  • Zapier Integration

    Connect your SalesQL account to Zapier from the Integrations page of your dashboard, then build Zaps that connect SalesQL with other apps, such as Gmail.

See all 5 articles in Integrations